
District IV Building Season
President’s Fall Message
November 1, 2021Upcoming PAMPA Executive Council and General Membership Meetings
July 12, 2022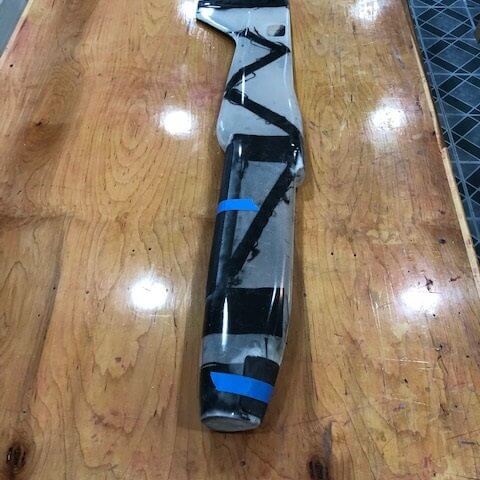
I asked the District IV folks for pictures of what they were working on this winter and got lots of feedback. These guys are very busy during the off-season preparing for when the good flying weather shows up again! What follows is in no particular order and has a pretty wide variation in verbiage, but that’s okay – I know on a topic like this everyone wants to see the pictures!
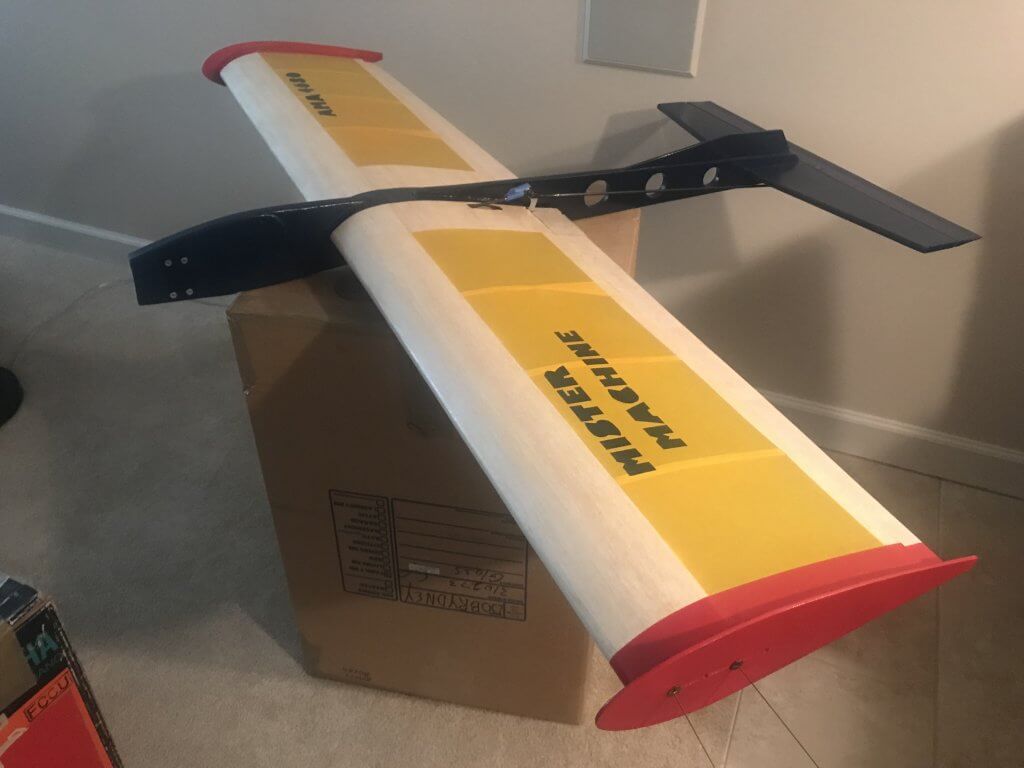
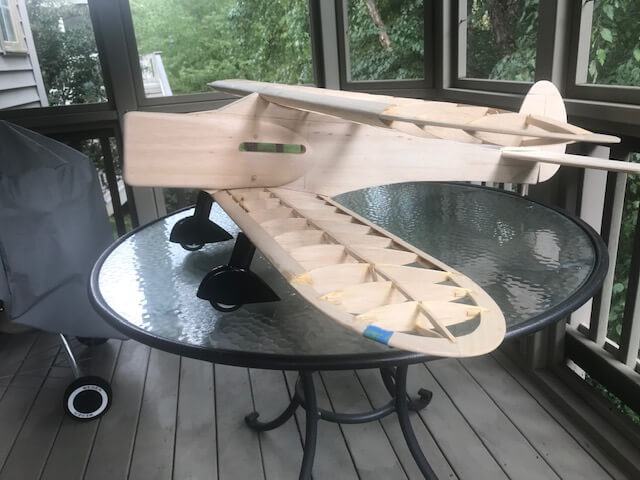
Frank Dobrydney: “Here are two for your PAMPA report…Mister Machine and the Staggerwing Biplane.” (Frank is our NVCL club President)
Michael McClain: “Scott, here are a couple of my winter projects. I completed the Sterling Spitfire a couple years ago, but it crashed before it ever got off the ground. The rear seat in my SUV fell over on it while I was driving. The seat crushed the landing gear, driving it up through the wing. It also broke the fuselage in half and crush the ribs in both wings. I had to make new ribs, recover the top and bottom of both wings with silk and repaint the plane. The plane is powered by an Enya .29.
I also built a Brodak profile P-40 covered with silk. It’s powered by a FOX .40. I’m waiting until it gets a little warmer, so I can spray paint it outside. I like building and flying control line model airplanes, but I hate painting them. This is going to be my first attempt at spray painting a model.
I hope to see you on the field in the spring. Keep your lines tight

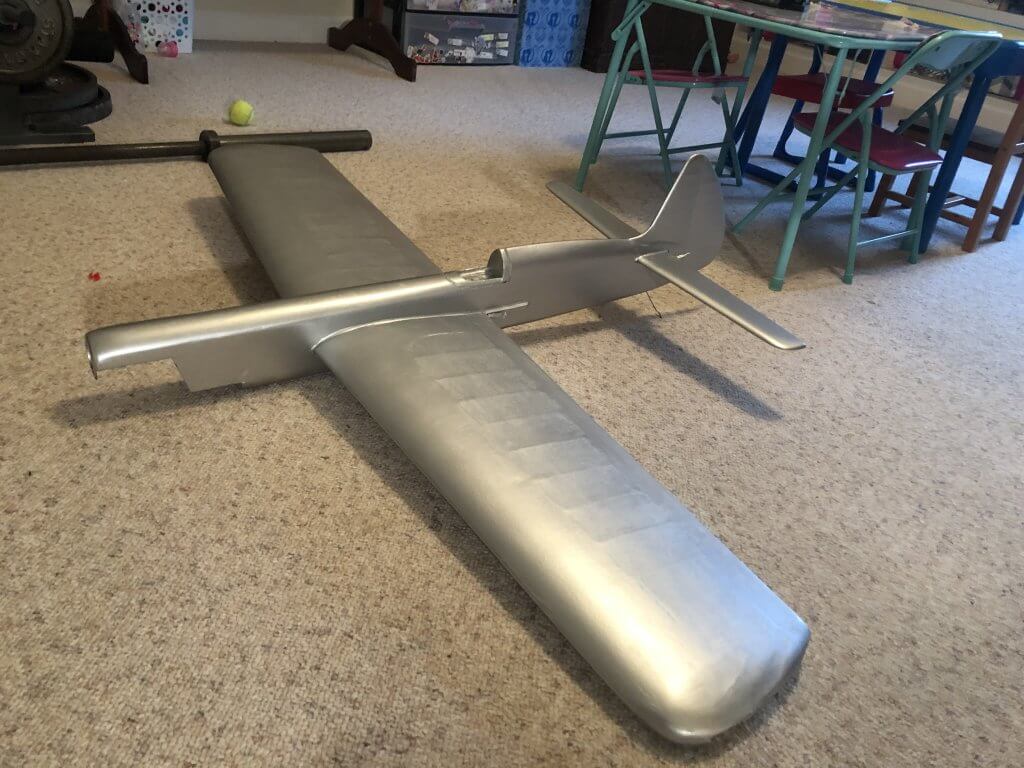
Barry Miller: “Hey Scott. I’ve been working on a Gypsy with a Super Tiger 51.”
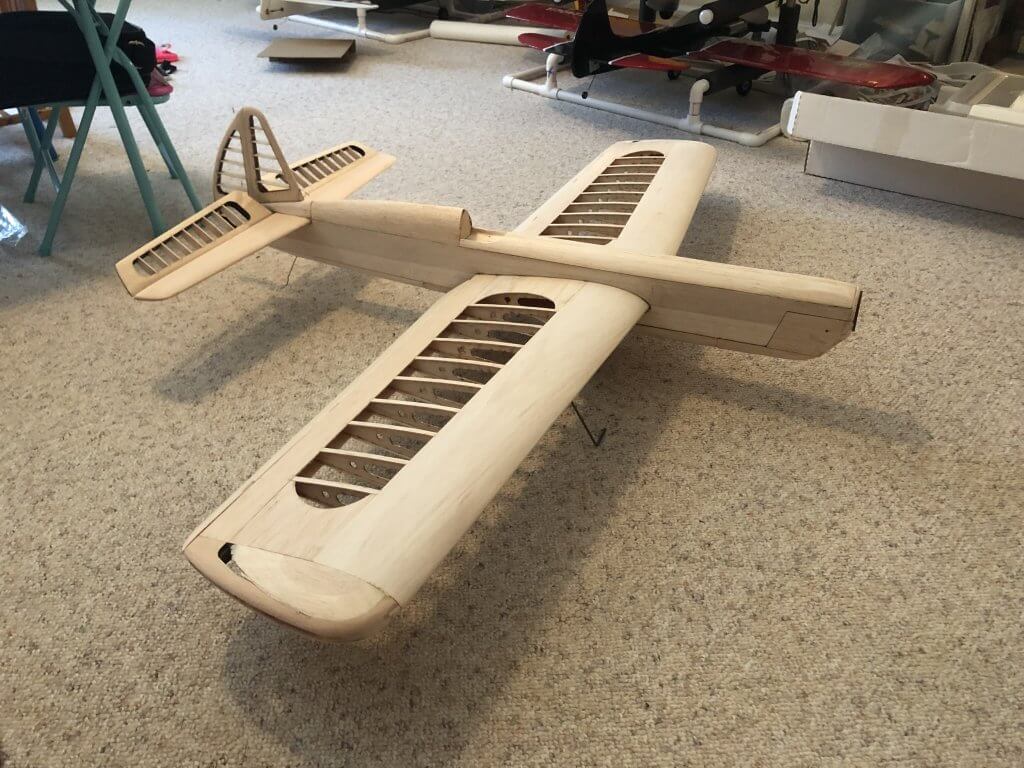

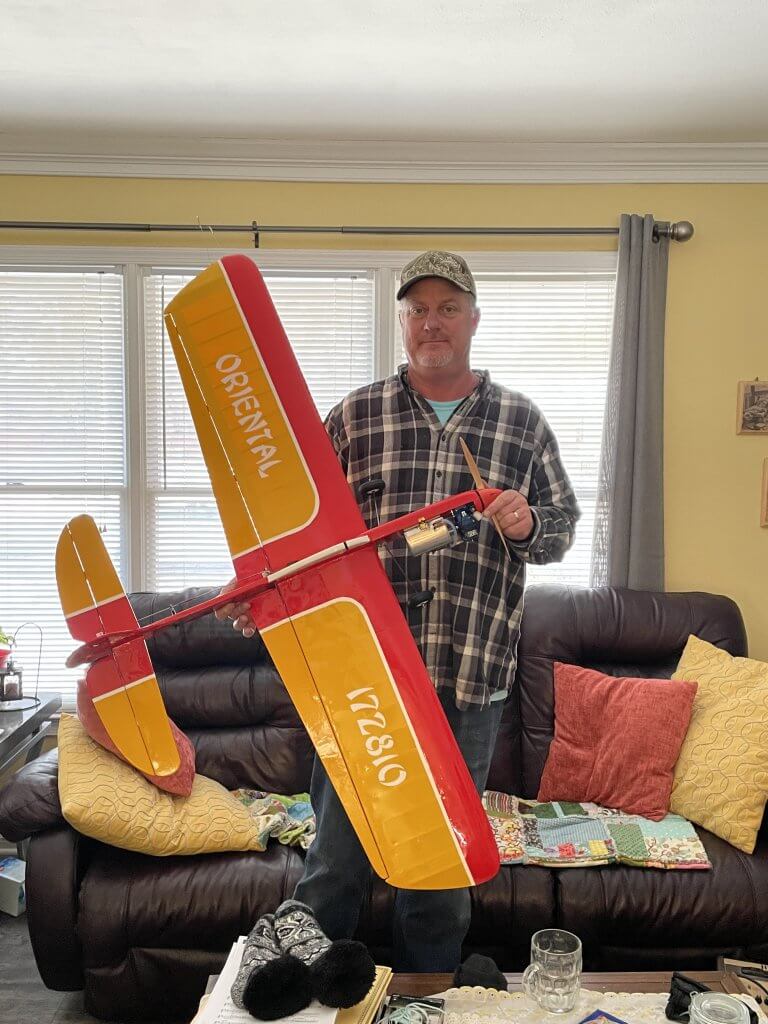
Brian Miller: “New oriental. LA 46 up front, covering is iron.”
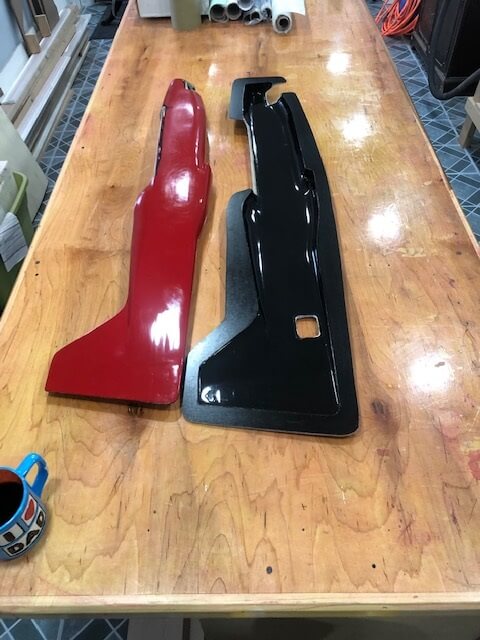
Tim Stagg: “I am working on molding a new fuse for my Tsunami design, I have the molds complete but waiting for some vacuum bagging supplies to do the first Carbon fuse.
This is the male mold plug. The two carbon fiber areas are the top hatch and the bottom motor hatch areas that had to be completed before I mold the two halves of the fuse mold
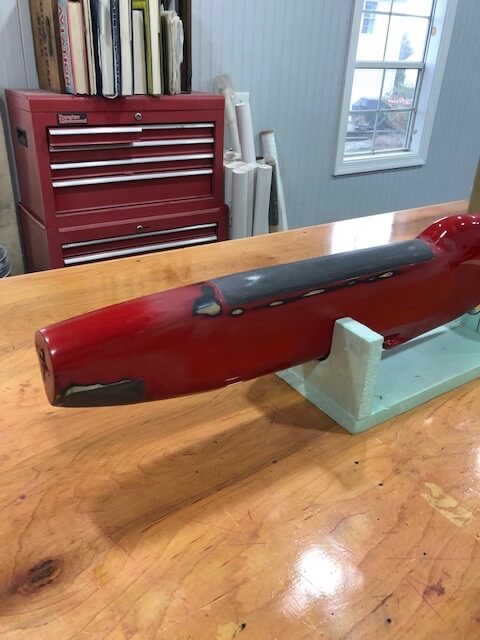
Another view of the hatch areas

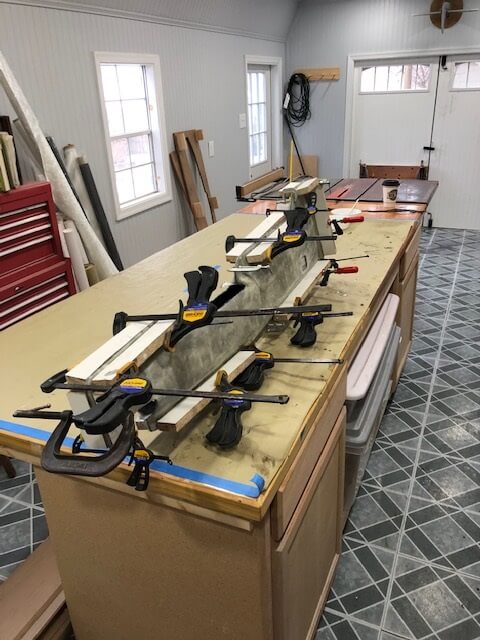
This is the mold being set into the MDF parting board so that the first half of the female mold can be laid up

The first half of the female mold is done, turned out really well
Another view

Both halves of the mold are now complete

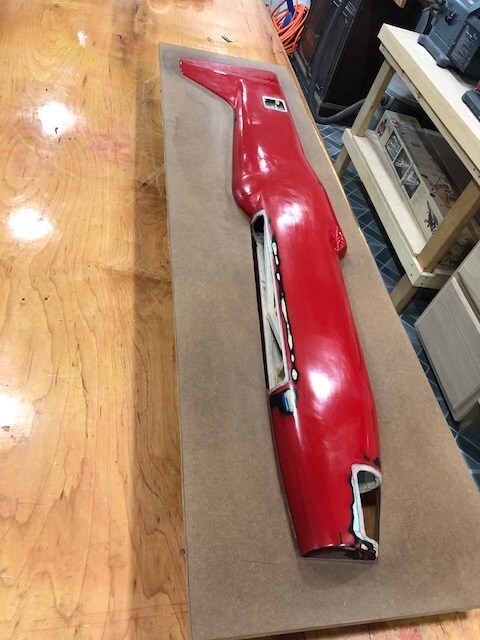
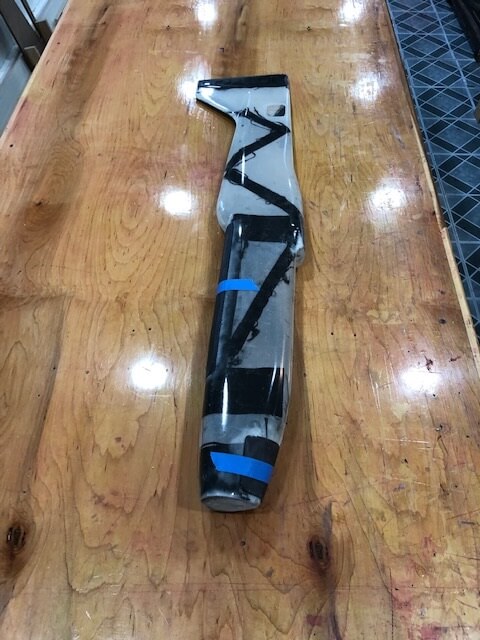
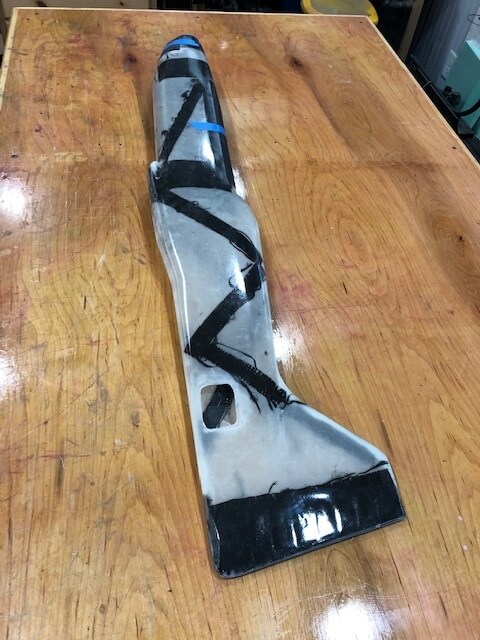
Making the first test fuselage from a wet layup process and not vacuum bagging it. It produced OK results but left a lot of resin weight and had some issues with a few areas not completely being against the mold causing some air bubbles. It would have been useable, but as a little heavy using fiberglass and some carbon reinforcing here and there
Here is the finished test fuse with the hatches fit and taped on with blue tape. Overall weight is around 14 ounces. I think I can get this cut in half using carbon fiber and vacuum bagging the halves to absorb the excess resin
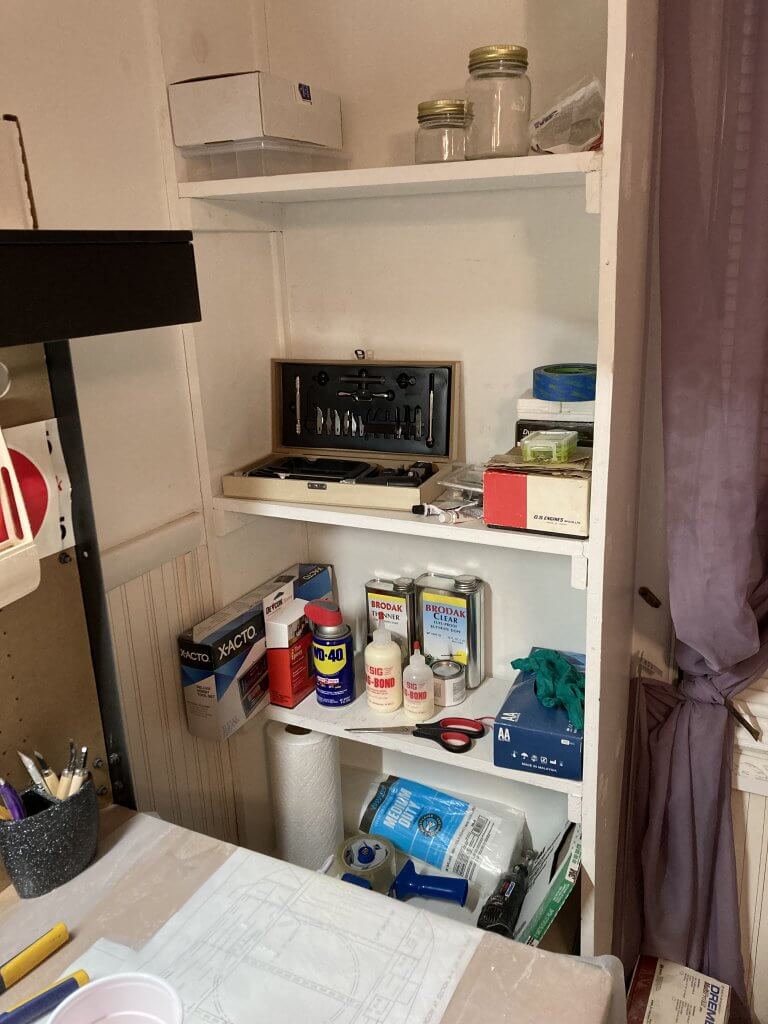
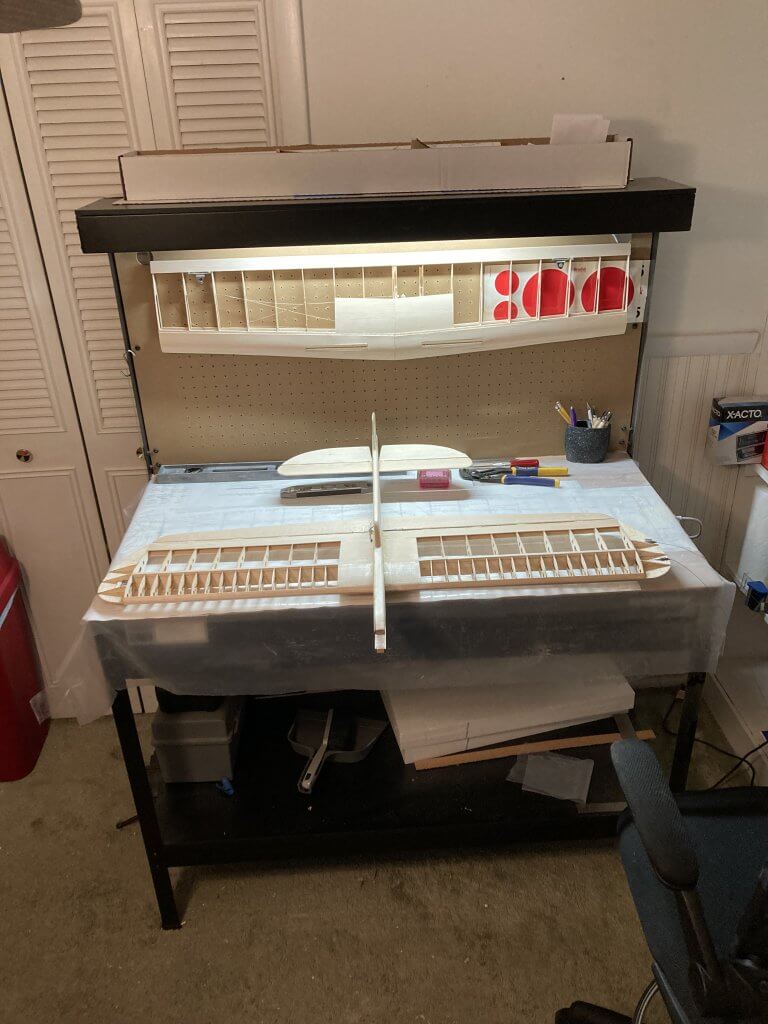
Michael Smith: “Still working on my little work space, waiting for weather to break for doping and covering, by the way looking to purchase a 40 engine if anybody has any suggestions.
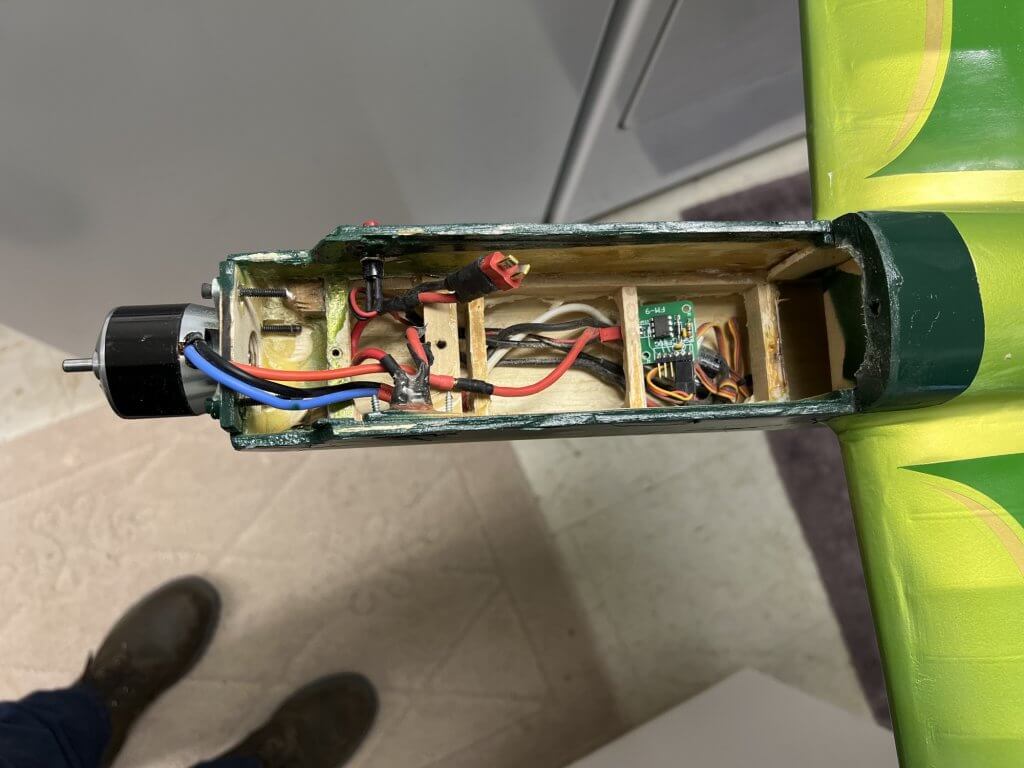
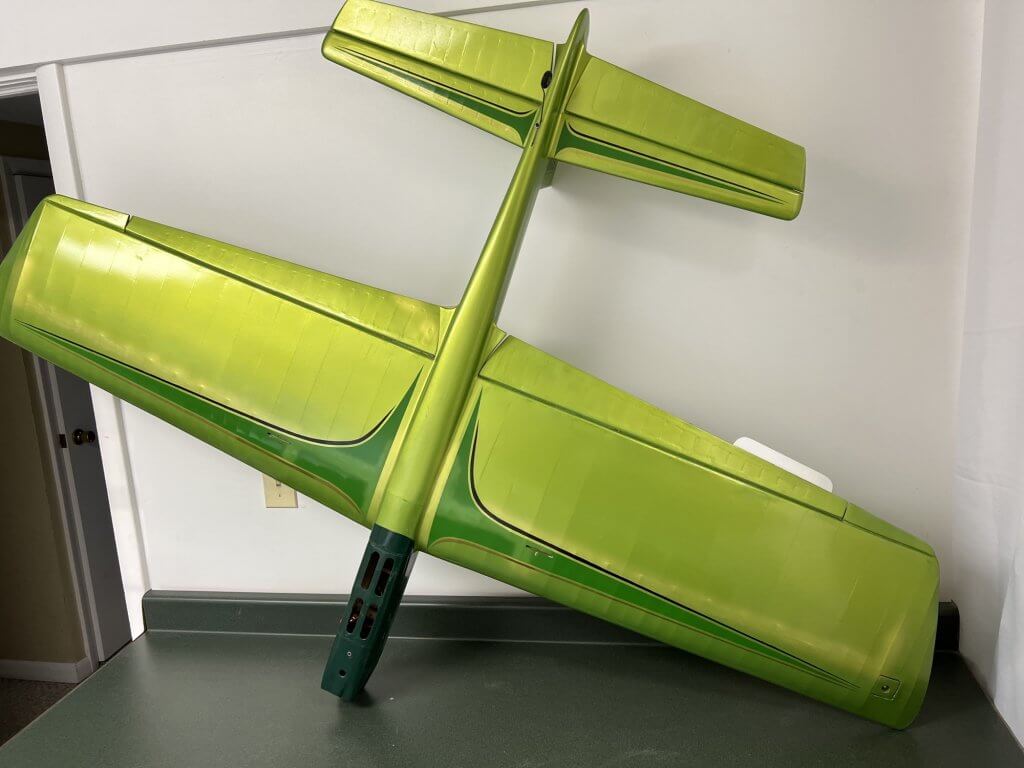
TomTaylor: “The motor is an E-Flite 32, I will be using a 5 cell 3300 mah battery, Prop is a 13-6 pusher.” (Talking about the re-engining process for his Ultra Cobra)


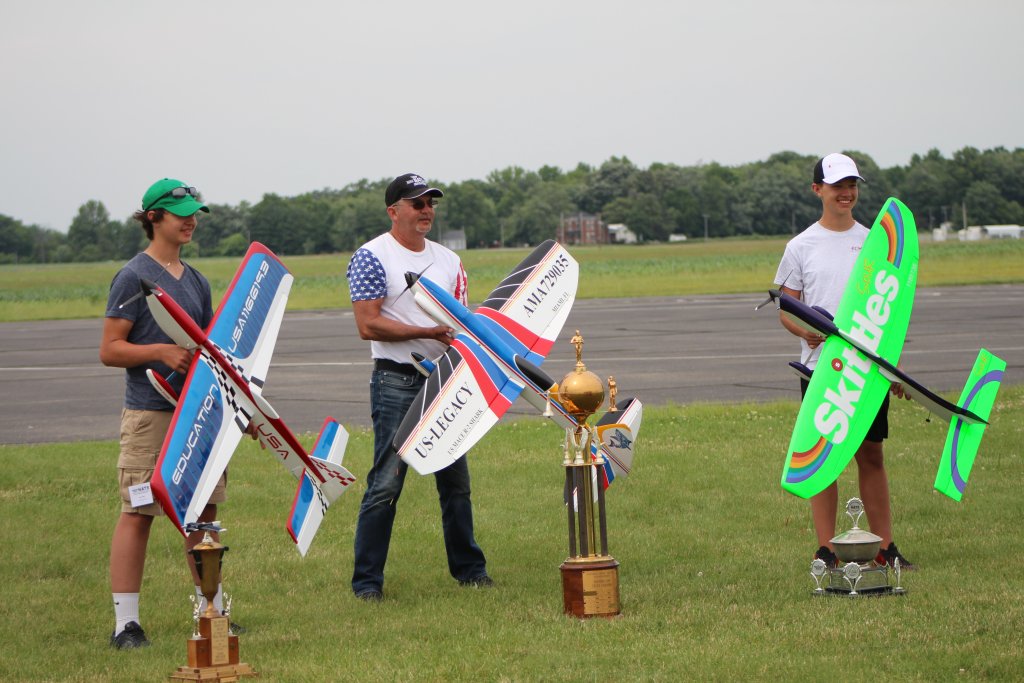
Will Davis: “Good day out at Huntersville Saturday
http://mcls.wacama.com/ “
Yours Truly: “My building projects came to a stand-still because my shop was a mess. Stuff all over the place! So, I started a put away, throw away, clean up effort. I even got to the point of scrubbing the floor! And of course the thought popped up “what better time to repaint the floor than when everything is put away and the floor is scrubbed clean? Like now!!” Yikes!! With a little help from Deb I got all the stuff jammed into one side of the shop (so I could paint half the shop floor) and once that was dry moved over unto the newly painted side (after waiting 72 hours for the paint to completely dry.) After that I scrubbed the floor down with bleach to get it nice and clean:

After that I cut in the edges and rolled the paint onto the floor.
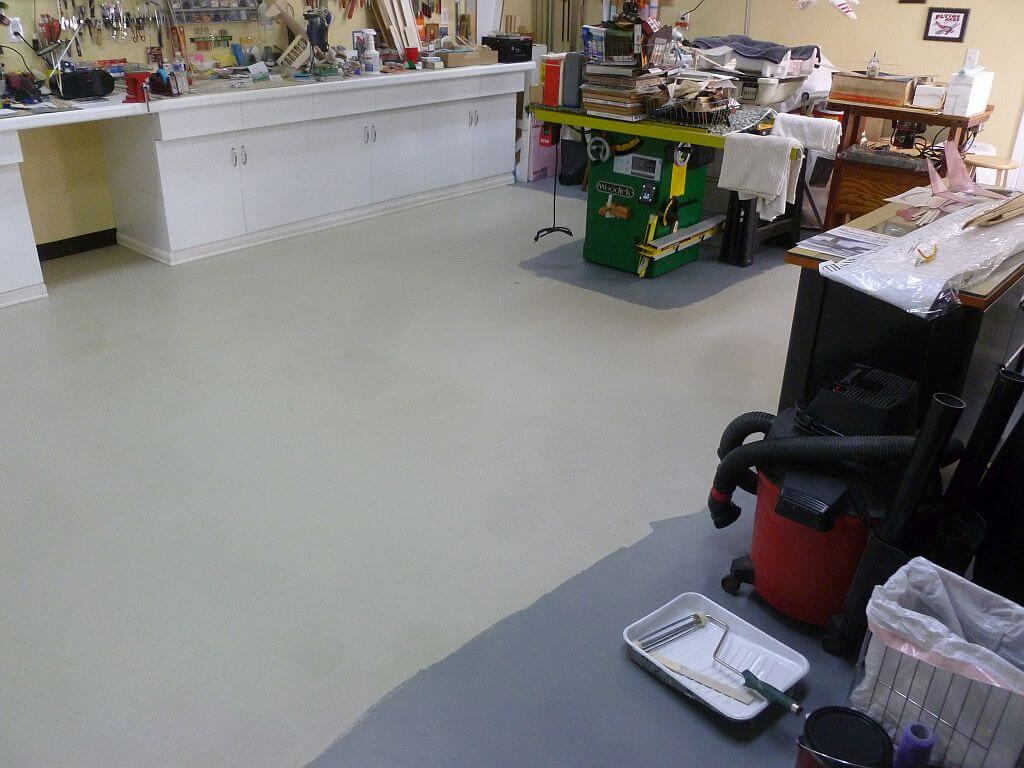
Now, I gotta wait a day or two to dry and then I’ll give it a second coat.
After the second coat I’ll have to wait another 72 hours and then I get to put everything back into place again!
I hope to be able to host some shop sessions in the near future. So, stay tuned.”
